
Didn’t find the answer you were looking for? Refine your search criteria below.
Popular searches: ‘Print Drivers’, ‘Scan to Email’, ‘Lines on Prints’
The quality of prints has degraded on my Canon device. What can I do about it?
When the output quality of your prints and copies seems to be suffering on your Canon device, what should you do? Should you replace the toner? Maybe take the bottle out and shake it a bit?
NO. These things will not correct image quality issues.
The first step you should take before placing a service call is to perform the ‘Full Auto Adjust Gradation’ adjustment from the user menu on the device.
Why is this necessary?
Over time, temperature and humidity changes can affect the quality of the printed output from your device. Performing a gradation adjustment takes about 5 minutes and usually corrects the problem without waiting for service from a field technician.
Here’s how to perform the adjustment:
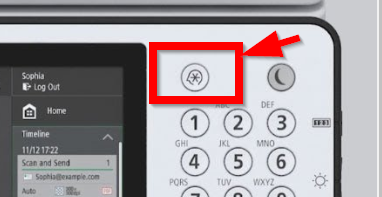
First, press the Settings/Registration button on your control panel.
Next, see video clip below to watch how to perform the adjustment:
The copier has just printed a test chart. Place it face down on the glass and press the “start scanning’ button on the screen:
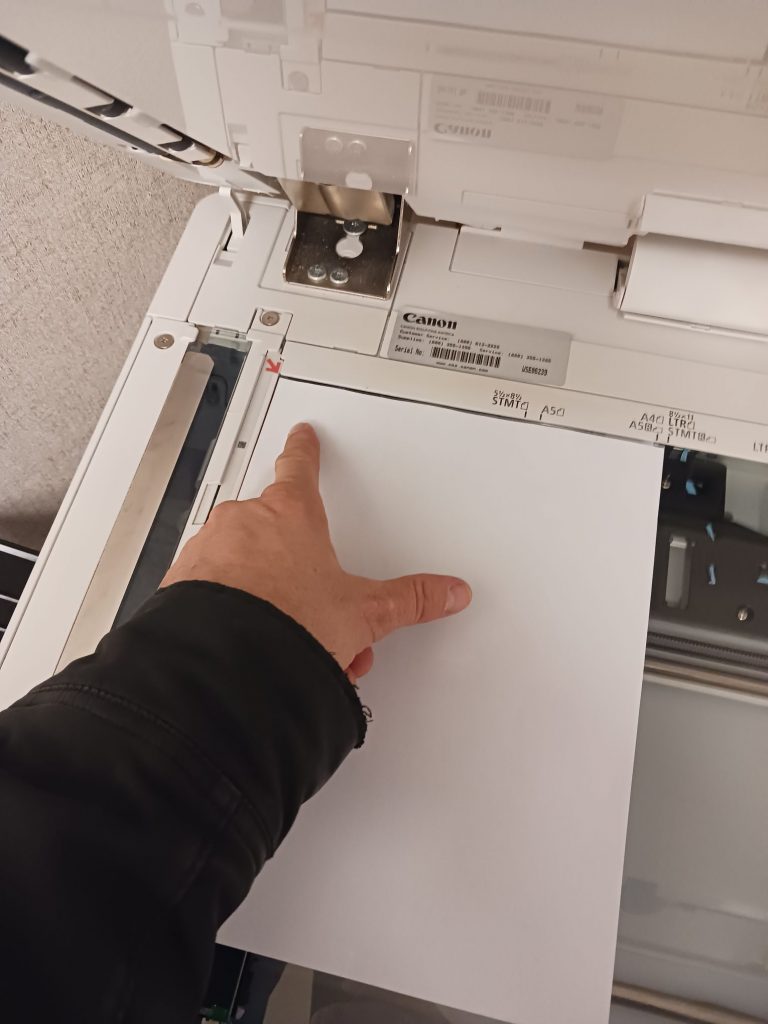
Place the test sheet face down on the glass, aligned with the orange arrow in the top left corner of the scan glass.
Next, press the ‘Start Scanning’ button on the touch screen (See clip below)
The copier will continue this process for 2 or 3 more sheets. Follow the same procedure as shown above for the remaining test sheets.
On the final sheet, the copier will automatically perform the color and gradation adjustments. (See final clip below):
After adjustment has completed successfully, please check the quality of your printed documents and note the improvement.
If image quality problems still persist, please contact our service team at 1-800-552-2229 or email us at service@excelbusiness.ca and we will dispatch a technician to resolve your issue.